Egg Carton Alligator Craft

An egg carton alligator craft for preschoolers & kindergarten.
If you're looking for a cute recyclable craft to do with your kids, this is it! Check out this Egg Carton Alligator Craft for Preschoolers and even Kindergartners and beyond!
Egg Carton Alligator Craft Supplies
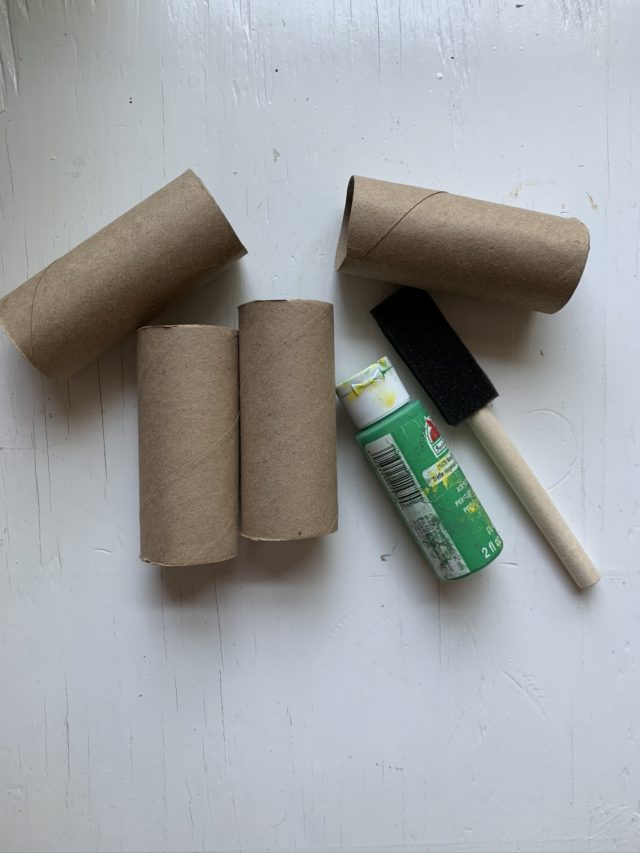
Supplies needed:
- Two cardboard egg cartons
- Green paint
- A pair of large googly eyes
- Four toilet paper rolls
- Paint or sponge brushes - get another small brush for hard-to-reach spots and grooves.
- Glue & scissors
- Construction paper (small pieces of red and white)
Instructions To Make Egg Carton Alligator Craft
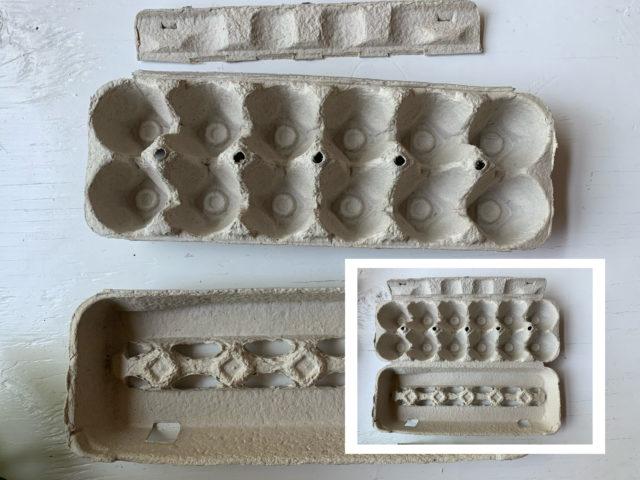
Step 1: Cutting the egg cartons
Open one egg carton and cut vertically down the middle so there are two pieces (The top and bottom of the carton.) Also, cut the extra flap off if there is one - you will not need that piece.
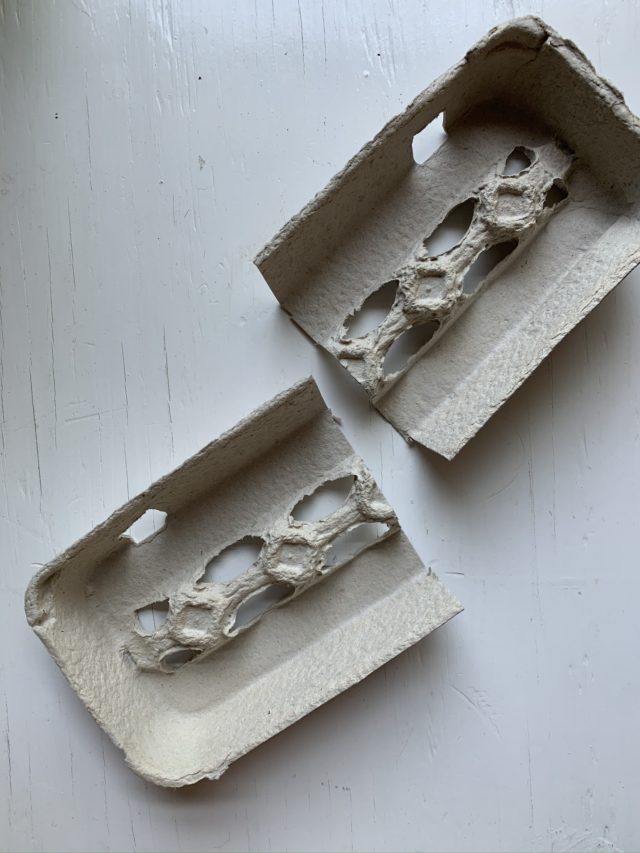
Step 1a: Cutting the egg cartons
Next, cut the top of the egg carton horizontally in half. This section will be the alligator's mouth. Discard or recycle the other half.
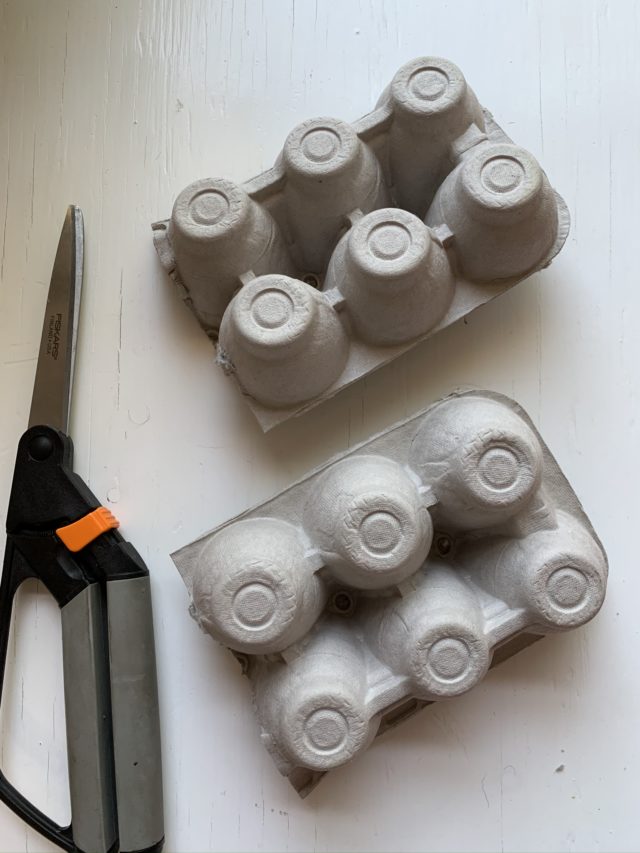
Step 1b: Cutting the egg cartons
Now, with the second egg carton.
Cut this egg carton vertically (down the middle) as you did for the first egg carton. Now, cut the bottom part horizontally in half. You'll only need half of the bottom, so place the other pieces aside for another project or recycle. This section will be for the alligator's head.

Step 2: Painting the alligator parts
Paint your three (3) egg carton pieces (the back, head, and mouth)
Step 2a: Painting the alligator parts
Now paint the four (4) toilet paper rolls. These are the alligator's legs.
Let the paint dry.
All your pieces at this point should be painted. My photos (instructions) are showing not painted.
Step 3: Gluing alligator parts together
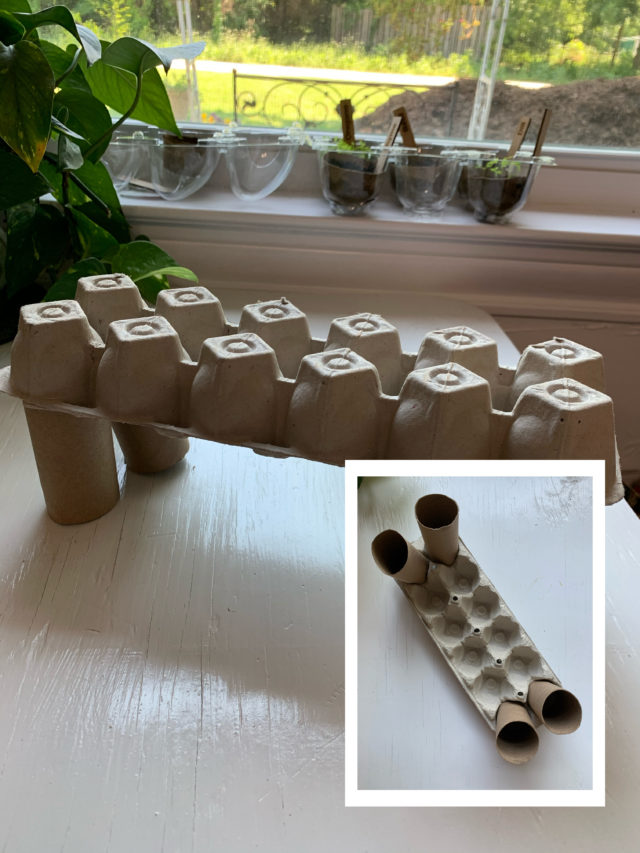
When all parts are dry, glue the legs (toilet paper rolls) underneath the alligator's back (up inside the egg holes) in the last two and the first two holes.
Step 3a: Gluing alligator parts together
Now, glue the head to the alligator's back first by overlapping. Let dry before gluing the mouth. Glue mouth to the alligator's back also, but from underneath by overlapping.
For mine, I had to use more than just a glue stick to get the head and mouth to stay on. You may want to use double-sided tape for this part.

Step 4: Add Embellishments
Attach the giant googly eyes.
Cut out large teeth and a long tongue from construction paper and glue on where you want it.
Let dry.
So, whether you call this adorable craft an alligator or a crocodile, I think you all will agree that it's too darn cute!